Interlocking Porch Services in Toronto & GTA
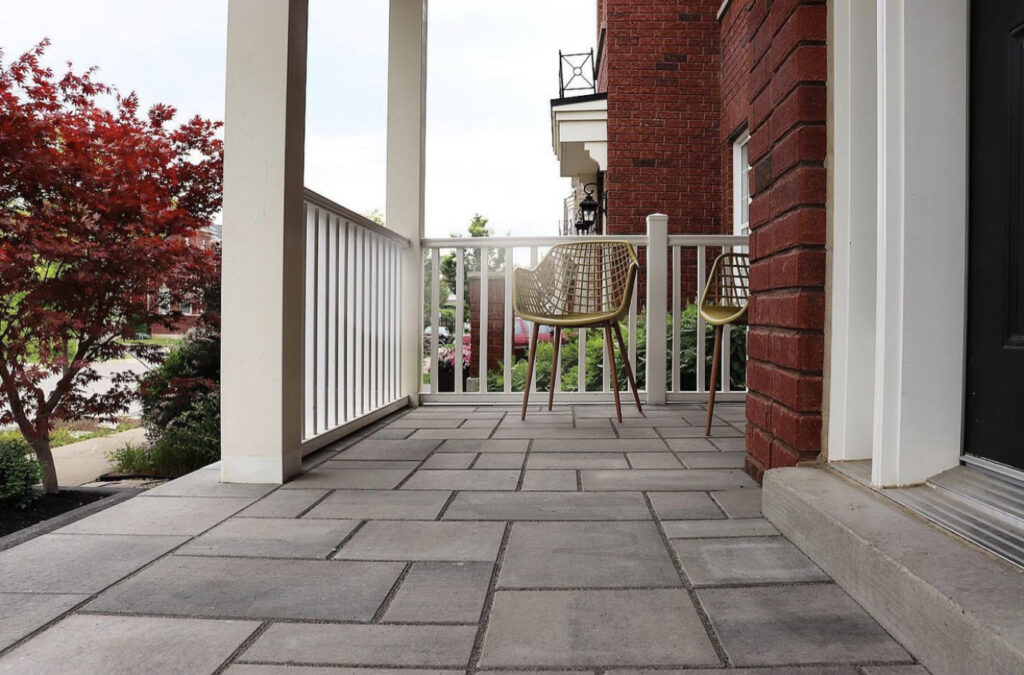
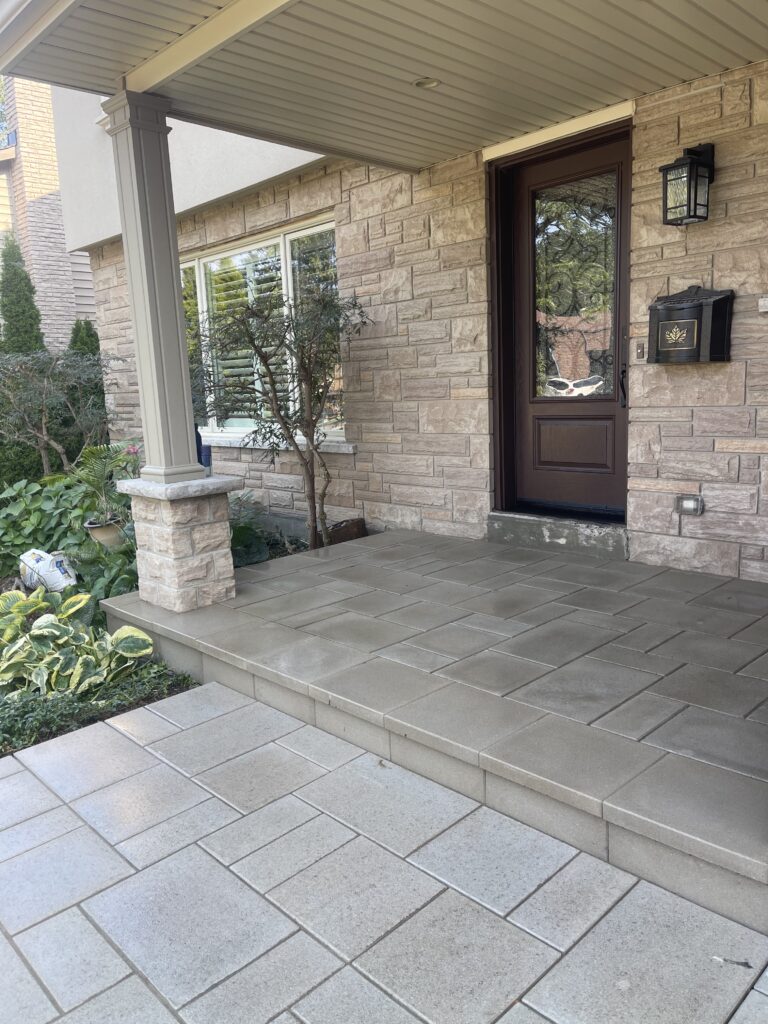
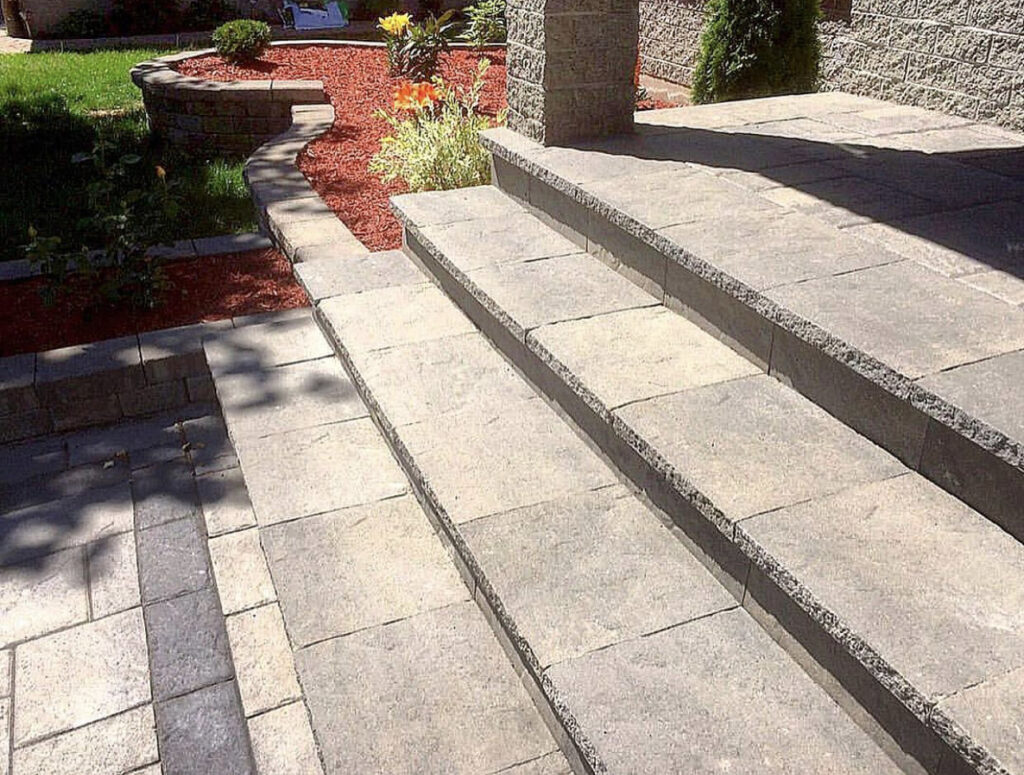
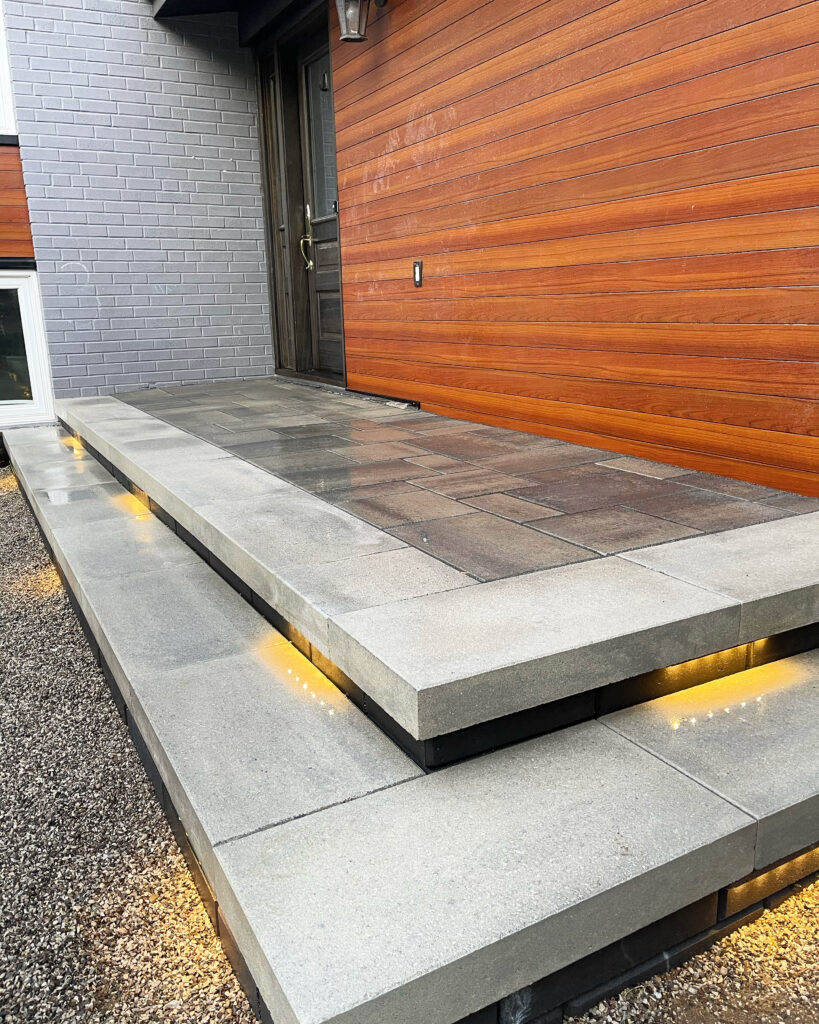
Milton Stone, where we specialize in interlocking porch services in Toronto and the Greater Toronto Area (GTA). Our team is dedicated to transforming the entrances of homes and businesses with beautiful, durable, and stylish interlocking porches. We understand that a porch is not just a transitional space but an essential aspect of your property’s curb appeal and functionality.
CALL OR TEXT ANYTIME
REQUEST A FREE QUOTE


Quick Service Request
Request a Quote Now!

Step-by-Step Guide to Repairing and Resurfacing a Concrete Porch with Interlocking Stones
Adding interlocking stones to your porch can transform its appearance and durability. Here’s a step-by-step guide to repairing a concrete porch and resurfacing it with interlocking stones:
1. Assess the Damage
- Inspect the Porch: Examine the concrete porch for cracks, chips, and uneven areas.
- Determine the Extent of Repair Needed: Identify areas that need filling, leveling, or complete reconstruction.
2. Prepare the Surface
- Clean the Porch: Remove debris, dirt, and loose concrete.
- Apply Concrete Filler: Fill in cracks and chips with a quality concrete filler. Let it dry according to the product instructions.
- Level the Surface: Ensure the porch is level. Use a concrete leveling compound if necessary.
3. Plan the Design
- Choose Your Interlocking Stones: Select stones that complement your home’s exterior.
- Create a Layout Plan: Plan the layout of the stones, considering the porch size and shape.
4. Gather Materials and Tools
- Materials Needed: Interlocking stones, sand, edge restraints, geotextile fabric (optional).
- Tools Required: Trowel, level, rubber mallet, saw (for stone cutting), and broom.
5. Install Edge Restraints
- Position Edge Restraints:
Place edge restraints around the perimeter of the porch to define and stabilize the area where the interlocking stones will be laid.
6. Lay the Base
- Apply a Sand Base: Spread a layer of coarse sand over the porch surface. This acts as a base for the interlocking stones.
- Compact and Level the Sand: Use a compactor to level the sand evenly. Ensure it is flat and smooth.
7. Lay the Interlocking Stones
- Start at a Corner: Begin laying the stones from a corner or edge, following your design plan.
- Fit the Stones Together: Place each stone closely to the next, using a rubber mallet to gently tap them into place.
- Cut Stones as Needed: For edges or corners, you may need to cut some stones to fit. Use a saw specifically designed for cutting stone or pavers.
8. Sand Filling
- Spread Sand Over the Stones: Once all stones are laid, spread fine sand over them.
- Sweep the Sand: Use a broom to sweep the sand into the gaps between the stones. This helps lock them in place.
9. Final Compaction
- Compact the Surface: Go over the surface with a compactor again to ensure the stones are well-settled.
- Add More Sand if Necessary: After compacting, you might need to add and sweep more sand into the gaps.
10. Clean and Inspect
- Clean the Surface: Sweep off excess sand and clean the surface of the stones.
- Inspect Your Work: Check for any uneven or loose stones and make adjustments as needed.
11. Seal the Stones (Optional)
- Apply a Sealant: For added protection and enhanced color, apply a sealant specifically designed for interlocking stones.
12. Maintenance
- Regular Checks: Periodically check the porch for any loose or shifting stones.
- Re-sand if Needed: Over time, you may need to sweep more sand into the joints between the stones.
By following these steps, you can effectively repair and resurface your concrete porch, giving it a new and improved look with interlocking stones. This not only enhances the curb appeal of your home but also adds to its functionality and durability.
