Understanding the Common Issues with Interlocking Pavers
Before diving into repairs, it’s important to know what issues you may encounter with interlocking pavers. In the Greater Toronto Area, the freezing and thawing cycles can cause the ground to shift, which can make the pavers move and become uneven. Weeds and moss growth can also disrupt the paver joints, while stains from vehicles or organic matter can mar their appearance. To maintain a pristine walkway or driveway, identifying these typical problems is the first step towards an effective repair strategy.
Assessing the Damage for Targeted Repairs
A thorough assessment is crucial before commencing any repair work. When dealing with interlocking pavers, it’s best to first clear the area of any debris and give it a good cleaning. This allows for a clear view of damaged or sunken pavers, uneven edges, and other imperfections that need to be addressed. By identifying specific areas that require attention, you save time and resources by not having to redo entire sections unnecessarily.
Choosing the Right Tools and Materials
For any repair job, the proper tools and materials are indispensable. In the case of interlocking paver repairs, you will need a flat shovel, a rubber mallet, a broom, and possibly a chisel and hammer for stubborn pavers. Replacement pavers should match the ones you have in size, color, and texture. Polymeric sand is also essential, as it is used for refilling the joints once pavers are back in place. This sand binds the pavers together and prevents weed growth and shifting.
Removing and Replacing Damaged Pavers
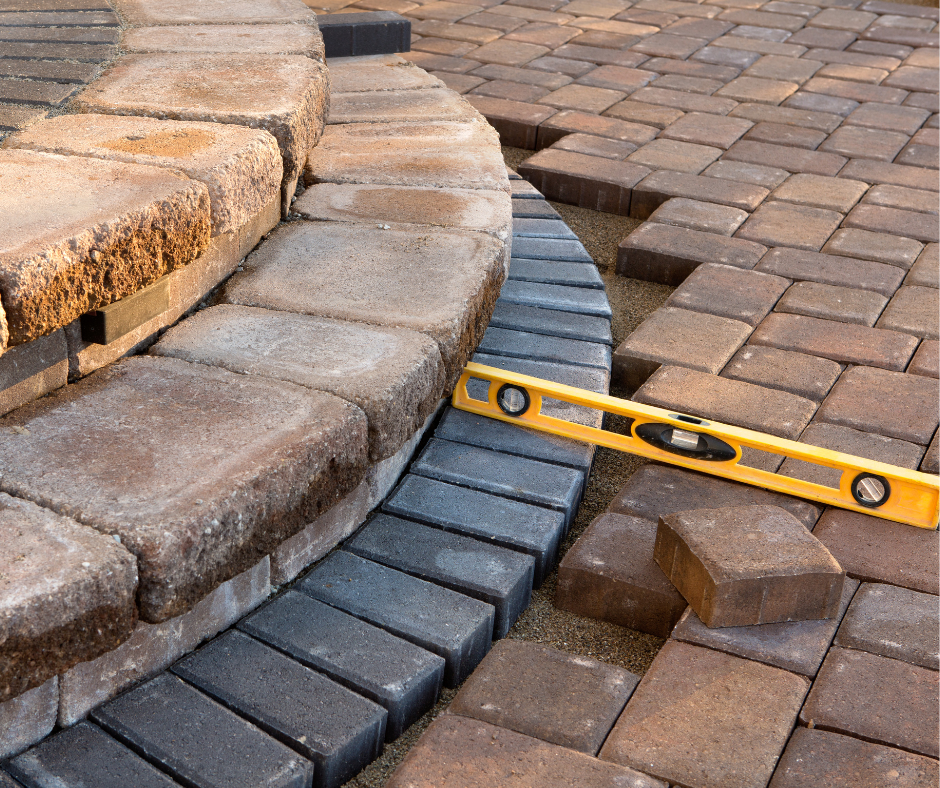
When you come across damaged or cracked pavers, they must be removed and replaced. Carefully lift the affected pavers with a shovel or by hand if they are loose enough. It’s critical to ensure that the base underneath is still stable and level. If not, you may need to add or remove some bedding material, such as crushed stone or sand, to create a stable foundation. Once the base is prepared, place the new paver in and tap it gently with a rubber mallet to fit it into the pattern and level it with the surrounding pavers.
Re-Leveling Sunken Pavers
Sunken pavers not only look unsightly but can also lead to water pooling and further damage. To re-level these, remove the affected pavers and inspect the base. Add or remove the bedding material as necessary to create a level surface, firmly compacting the material before putting the pavers back in place. Check for levelness with surrounding pavers and adjust accordingly until the surface is even.
Reapplying Polymeric Sand for Joint Stability
Once all repairs have been made, the final step is to reapply polymeric sand to the joints. This ensures the stability of the pavers and prevents shifting. Pour the sand over the pavers and use a broom to sweep it into the joints, ensuring they are fully filled. Tamp the pavers down to help the sand settle in, and then sweep off the excess. Following the instructions on the polymeric sand package, dampen the filled joints to activate the binding agent.
Maintaining Interlocking Pavers Post-Repair
After efficiently repairing your interlocking pavers, regular maintenance will prolong their lifespan and keep them looking their best. This includes periodic cleaning, resealing if appropriate, and keeping an eye out for any new shifting or damage. Addressing issues early can avoid the need for more extensive repairs down the line.
Efficient repair and maintenance of interlocking pavers in the Greater Toronto Area require an understanding of the materials, proper techniques, and the influence of local weather patterns. By following these expert tips, homeowners and property managers can preserve the functionality and curb appeal of their interlocking pavers for many years to come.
Quick Service Request
Request a Quote Now!


